Measure what lands on the lawn
When one corner of the lawn looks dry, adding more minutes can feel like the obvious fix. First, find out whether water is reaching that corner at the same rate as the rest of the yard.
A catch-can test compares the water collected at several points during the same sprinkler run. You can use it to spot uneven coverage and estimate the application rate of the zone you tested.
This is a practical home check, not a professional irrigation certification. Its value comes from careful placement, readable measurements, and a record you can compare after you make a repair.
Walk the zone before setting out cans
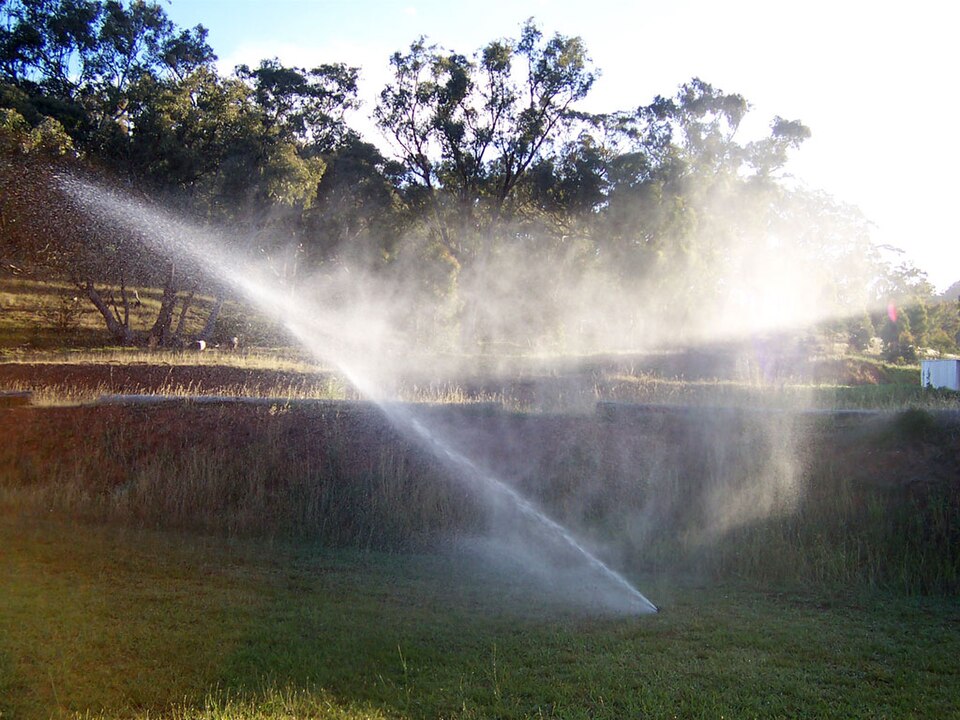
Turn on one irrigation zone and watch the pattern before you collect anything. Look for a blocked stream, a leaning head, a broken fitting, or spray landing on paving.
EPA’s sprinkler maintenance guidance emphasizes inspecting the system and directing water where it belongs. Correct an obvious obstruction before testing, or record it if you want a clear before-and-after comparison.
Mark the working heads on a simple drawing, then turn the water off while you place the containers. Keep your route clear of hoses and any loose equipment.
Use the same zone boundary throughout the test. Water from another operating zone can make a low-output area look better than it really is and confuse your comparison.
Choose containers you can compare
Use stable, straight-sided containers with matching openings wherever possible. Label them with large numbers that stay readable when the outside gets wet.
A ruler that is easy to read at shallow depths will help. Check that the container bottom lets it sit consistently, rather than tilting into a rounded corner.
For this simple depth-based check, do not combine narrow jars, flared cups, and differently shaped bowls. Their collection areas and reading surfaces can make an otherwise careful record misleading.
Lay out your notebook before starting: container number, position, collected depth, and any unusual observation. A sketch showing where each number belongs will save you from guessing later.
Make a grid, including the awkward places
Utah State University Extension describes distributing catch containers across a zone in a grid, including near heads and between them. Leave the spray path unobstructed so the measuring equipment does not change the pattern.
Include the area that first caught your attention, along with ordinary-looking parts of the lawn. If you test only the best-looking center, you have already decided what the answer will be.
Keep container rims level and exposed above the surrounding grass. A container tipped sideways or hidden in tall growth is measuring a different setup from its neighbors.
Your drawing need not resemble an engineering plan. Numbered dots beside a patio edge and a few sprinkler marks are enough if you can place the cans in the same locations next time.

Run one zone for a recorded time
Choose a calm period when you can remain nearby and read the containers promptly. Avoid a test interrupted by rain or a strong shifting wind, and record conditions rather than treating them as invisible.
Run the chosen zone long enough to collect a readable depth, and write down the actual run time. USU’s home procedure uses that elapsed time with the measured depths to calculate application rate.
Watch for water leaving the landscape while the system runs. Stop if you see pooling or runoff, and note when it began rather than continuing solely to fill the cans.
If the run is cut short, that is still useful information. You can investigate the runoff problem and repeat under suitable conditions without pretending the incomplete test was a full result.
Read each can before looking at the average
Measure and record the depth in every container using the same units. Read a shallow measurement carefully, and mark a result unreadable if you cannot support a number.
Look across the individual results before calculating anything. A low container beside a blocked head suggests a different next check from a whole edge receiving less water.
Keep a surprisingly high or low result in the record while you inspect its location. Remove it from the calculation only if you can identify a real measurement problem, such as a tipped can.
Do not fill a blank cell with zero unless you actually observed no collected water. A lost measurement and a dry container are different findings, and they lead to different follow-up work.
Calculate an application rate with a clear example
Add the readable depths and divide by the number of those containers. Divide that average depth by the run time in minutes, then multiply by sixty to express the rate per hour.
Here is an invented example to show the arithmetic: four cans collect 0.20, 0.25, 0.30, and 0.25 inch in fifteen minutes. Their average is 0.25 inch, which gives an application rate of one inch per hour.
That calculation describes the measured run, not a universal watering recommendation. The example is also deliberately small; you should distribute enough containers to represent the actual shape and sprinkler pattern of your zone.
Keep the original readings beside the average. A neat single number can hide a dry corner, so it should never replace the location-by-location record you made.
Fix coverage before adding time
Compare low readings with the sprinkler drawing and your first walk-through. Check alignment, obstruction, damaged parts, and whether the heads operate as expected.
If a maintenance change is straightforward and within your ability, make it according to the equipment instructions. Ask an irrigation professional about pressure, buried leaks, design changes, or faults you cannot diagnose confidently.
Repeat the same layout after the repair using the same recorded run time when practical. This makes the new results easier to compare with the first test.
Adding time to an uneven zone raises the water delivered to the already wet areas as well. Improve the distribution problem first, then make a separate decision about an appropriate schedule.
Build the watering schedule separately
Your catch-can result tells you about delivery, while plant needs, soil, weather, and local restrictions shape the schedule. Ask your local water utility or Extension service for guidance that fits your location.
EPA recommends adjusting irrigation with conditions and stopping when water pools. Its guidance also describes splitting watering into shorter intervals with pauses where water is applied faster than the soil can absorb it.
Do not copy a regional weekly schedule simply because its calculation example looks tidy. Record rainfall and inspect the actual landscape before changing the clock.
After a schedule change, return while the system is operating and inspect the area again. A timer setting is only a plan until you have seen what happens on the ground.
Keep the comparison fair
If you move a can, write down why and update the sketch before you repeat the test. Otherwise, a new position can look like an improvement even when nothing about the sprinkler has changed.
Compare like with like: the same zone, a documented run time, and reasonably similar conditions. If those conditions differ, keep both records but explain the difference before drawing a conclusion.
Save a record that makes the next check easier
Keep the date, zone name, run time, container map, depths, weather notes, and any repairs together. A phone photograph of the completed sheet is an easy way to avoid losing the details.
Give the test a plain conclusion, such as low collection along the fence or similar readings after clearing the obstruction. Avoid claiming a measured water saving unless you have actually tracked water use.
Revisit the test when a changed nozzle, growing plant, or recurring dry patch gives you a reason. Your next decision will be easier because you already know where and how you measured.
The useful outcome is a better question: where is the water going, and what needs attention before the next run? Answer that carefully, and a confusing patch of lawn becomes a manageable maintenance task.
Sources & further reading
Documentation checked October 15, 2026. Practical examples and illustrations are original; no hands-on product testing is claimed.
- Simple Sprinkler Performance Testing — Utah State University ExtensionGrid method; one zone; recorded time/depth; application rate formula. Regional schedule not adopted.
- Sprinkler Spruce-Up — EPA WaterSenseInspection and directing water to landscape.
- Watering Tips — EPA WaterSenseLocal advice, runoff, cycle/soak and clock versus weather/moisture controllers.