Start with one bed and one set of needs
A small drip system is easier to understand when you begin with one bed whose plants have reasonably similar watering needs. Sketch the bed, the faucet, the route between them, and the places where you need to walk before buying a bag of fittings.
Choose the actual tubing and emitters as a compatible system rather than assembling parts because their nominal sizes sound alike. Manufacturers use different connection details, pressure ranges, and run limits, so the instructions for the exact products should control the installation.
This guide is a planning and checking sequence for a modest garden bed, not a substitute for local plumbing requirements or a product manual. Keep irrigation fertilizer injection and more complex water sources outside a first simple setup unless you have appropriate professional guidance.
Your first goal is visible, reliable watering that you can inspect. You can add automation later, after you understand where the water goes and whether the resulting moisture suits the plants.
Draw the water path all the way to the end
Put the source, required backflow protection, filter, pressure regulation, supply line, watering lines, and flush ends on the sketch. Follow the manufacturer's specified arrangement, since individual components can have orientation or placement requirements.
Ask your water supplier or local plumbing authority what backflow protection is required for your connection. Do not assume that a fitting supplied in a kit satisfies every local rule or every type of irrigation setup.
Utah State University explains that filters help prevent small drip passages from clogging and that pressure regulation must match the emitters. Those functions are distinct, so a filter does not automatically solve excessive pressure and a regulator does not remove sediment.
Mark which connections need to remain accessible for inspection, cleaning, or seasonal removal. Hiding the whole assembly behind a heavy planter can make a small maintenance job so awkward that it stops happening.
Match the watering layout to the planting
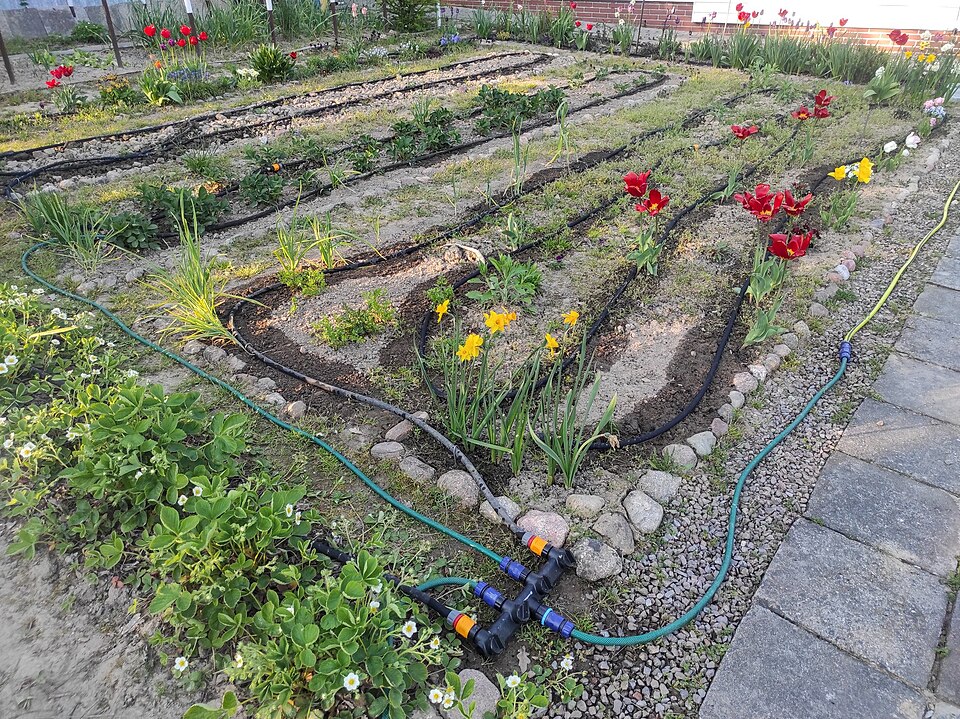
For plants arranged in regular rows, an inline-emitter product may offer a straightforward layout if its spacing and limits fit the crop and bed. For widely separated plants, a blank supply line with appropriately placed individual emitters may be a better starting point.
Do not assume one emitter at each stem wets the entire useful root area. Soil and emitter placement affect the wetting pattern, which you will need to check in the real bed rather than only in the product diagram.
Iowa State recommends grouping plants with similar watering requirements into zones. In a small project, that can mean deciding to keep a thirsty container or a newly planted shrub on a separate routine instead of forcing it onto the same schedule as the rest of the bed.
Draw mature plant locations and leave room to adjust emitters as plants grow. A tidy setup on planting day can become hard to inspect if every connection disappears beneath a dense canopy by midsummer.
Check the numbers before connecting everything
Read the manufacturer's pressure range, maximum run length, filtration requirement, and connection size for the exact tubing and emitters. Keep those details with the sketch so you do not mix a replacement part into the system later without checking compatibility.
Add up the emitters' rated flow to estimate the designed demand, using consistent units. For an arithmetic example, twelve emitters rated at half a gallon per hour total six gallons per hour at their specified operating conditions.
That example is not a claim about the output in your own garden. Actual pressure, elevation, product performance, and clogs can change delivery, which is why the number is a planning estimate followed by an observation check.
If your source, slope, or proposed length does not fit the instructions, simplify the plan or ask the manufacturer or irrigation supplier for help. A smaller successful zone teaches you more than an oversized layout whose far end never receives dependable water.
Assemble where you can still see mistakes
Lay the lines out on the surface according to the product instructions before covering or concealing them. Avoid tight kinks and position the route so people do not have to step over fittings or drag equipment across the tubing.
Cut and connect tubing with the specified tools and method. A connection that seems almost right can leak later, so do not force incompatible fittings or improvise sealing methods that the manufacturer does not recommend.
Flush new lines as instructed before final closure so loose debris is not trapped where it can block the emitters. Keep the flushing water from eroding a bed or spilling onto a walking surface, and reclose the ends securely afterward.
Run the system while you remain nearby and inspect each connection. Look for sprays, drips at joints, tubing that separates, and sections that stay dry instead of assuming the absence of a large puddle proves everything is working.

Check both delivery and soil moisture
Choose several representative locations, including the beginning and end of the line, and confirm that emitters operate. Where the product allows a practical collection check, compare collected amounts over the same interval using the same method.
Then inspect the wetting pattern in the soil after a trial run, taking care around roots. You want evidence that water reaches the intended root area, not merely proof that a dark dot appears on the surface beside each emitter.
Keep the first trial duration in your notes as a test setting rather than a permanent recommendation. Adjust according to the plants, soil moisture, weather, and local guidance, and watch for runoff or persistent saturation.
Avoid turning the system on again simply because the top looks dry. The point of a controlled delivery setup is to water appropriately, and that still requires understanding what happens beneath the visible surface.
Add a timer only after the manual setup works
A timer can operate a working system, but it cannot discover a loose fitting or correct an unsuitable emitter layout by itself. Test the garden with manual operation first so you know what normal delivery and moisture look like.
If you add a timer, verify its exact pressure, flow, connection, battery, and weather-exposure instructions. Make sure any attached filter or regulator arrangement follows the relevant manuals and does not strain the faucet or create an awkward unsupported assembly.
Test a complete programmed cycle while you are home and watch the start and stop. Confirm that the schedule is saved correctly, the valve closes, and any rain-delay or manual functions behave as described before relying on it during a trip.
Keep a clear way to shut the water off and leave simple instructions for a helper. Automation saves a routine task only when somebody can still recognize and respond to a failure.
Make inspection part of the garden routine
Walk the line regularly while it operates and after gardening that could move or damage it. Weeding, planting, animal activity, and ordinary foot traffic can change the setup even when the timer has not changed at all.
Clean the filter and flush lines according to the product instructions and source-water conditions. Iowa State identifies clogging as an important limitation of drip systems, so maintenance belongs in the original plan rather than a troubleshooting list you find after plants wilt.
Before freezing weather where relevant, follow each component's winterization and storage directions. A timer, pressure regulator, filter housing, and tubing may need different treatment, so keep their instructions together instead of assuming one action suits the entire assembly.
Your finished system should be understandable at a glance: a known source, compatible components, accessible maintenance points, and a watering pattern you have checked in the soil. That is a useful foundation for a small bed, and it gives you a clear way to judge any future expansion.
Sources & further reading
Exact documentation checked October 15, 2026. Original examples and illustrations; no hands-on product testing or professional certification claimed.
- The Do-It-Yourself Guide to Backyard Drip IrrigationDrip requires compatible filtration, pressure regulation, emitter placement, and accessible maintenance; source pressure and drip operating requirements differ.
- Using Drip Irrigation in the GardenGroup similar water requirements, inspect actual delivery and root-zone wetting, flush/maintain lines, and recognize emitter clogging and seasonal-care needs.